
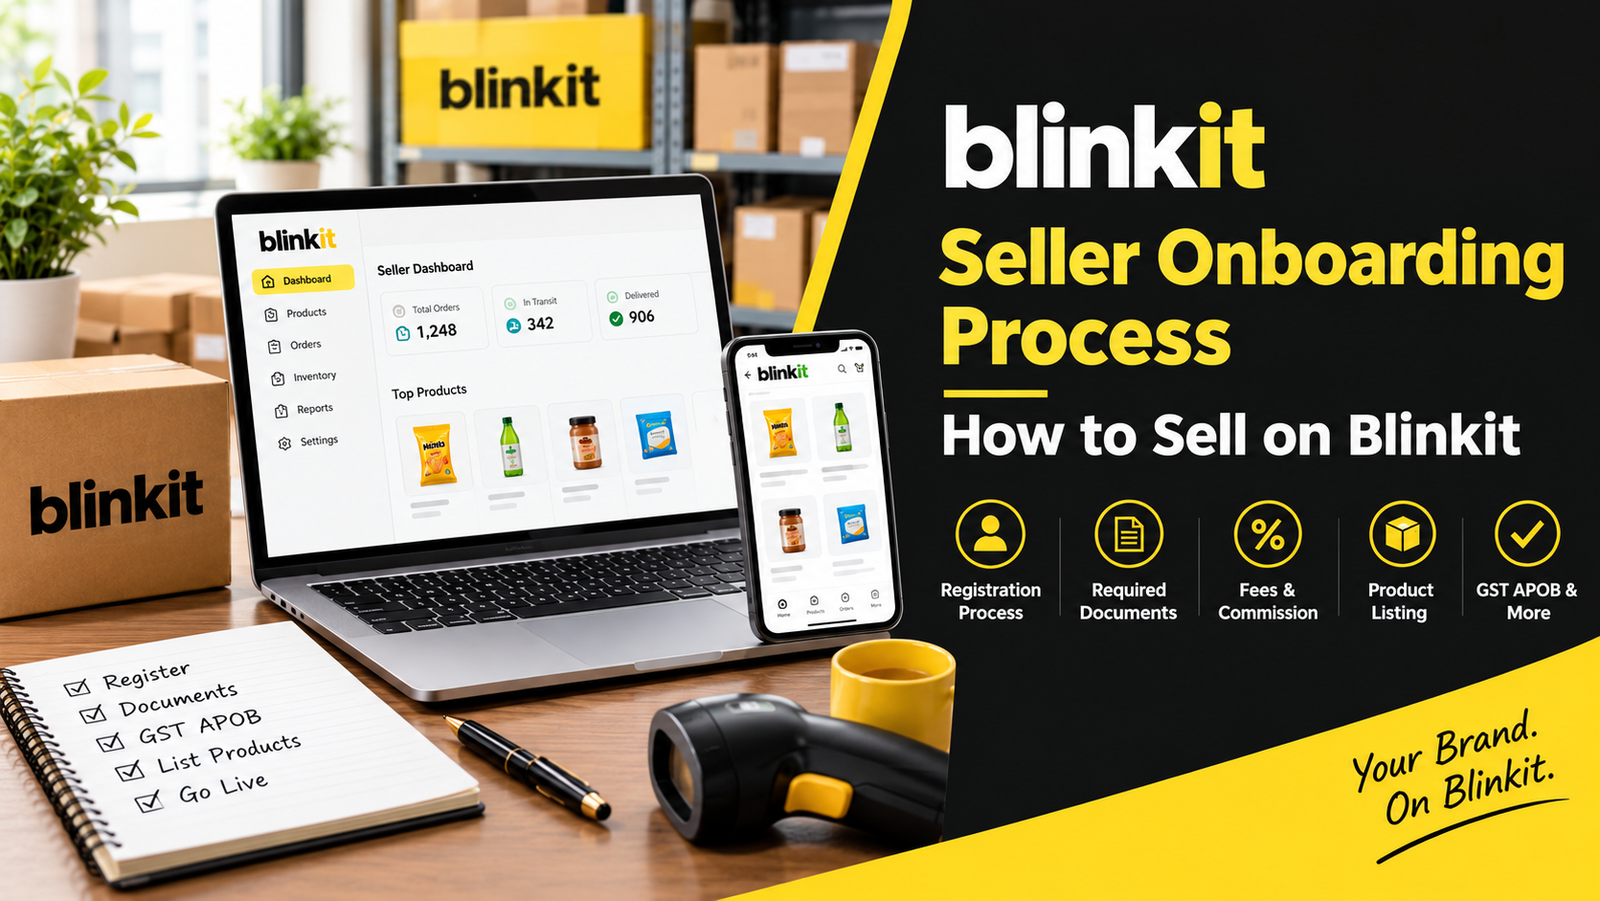
Blinkit Seller Onboarding Guide: How to Sell on Blinkit in 2026
The rise of quick commerce has transformed Indian retail, with platforms like Blinkit helping customers receive daily essentials within minutes. For D2C brands, manufacturers, FMCG businesses, and startups, selling on Blinkit can create opportunities to reach high-intent customers through hyperlocal delivery.
However, understanding how to sell on Blinkit involves more than registering an account. Businesses may need to complete document verification, meet category-specific requirements, manage GST compliance, and coordinate inventory delivery to designated warehouses.
This comprehensive Blinkit seller onboarding guide explains the Blinkit seller registration process, documents required to sell on Blinkit, GST Additional Place of Business (APOB) requirements, product catalogue preparation, and important commercial considerations.
Whether you are researching how to list products on Blinkit or looking for professional assistance with Blinkit vendor onboarding, this guide will help you understand the process.
Why Become a Seller on Blinkit?
The Problem with Traditional E-commerce
Traditional e-commerce marketplaces generally operate with delivery timelines ranging from one to several days. Brands may also face intense competition, fluctuating product visibility, and inventory management challenges.
Quick commerce offers a different business model by connecting local demand with inventory stored in designated fulfilment locations.
How Blinkit Can Help Businesses Grow
Blinkit's quick-commerce model can offer several potential advantages:
- Faster product availability: Customers can access eligible products through nearby fulfilment locations.
- Regional market access: Brands can reach customers in serviceable local areas.
- Bulk inventory opportunities: Business-to-business purchase orders may support replenishment at designated locations.
- High-intent shopping: Customers often use quick-commerce apps to purchase products they need immediately.
However, sales are not guaranteed. Product demand, pricing, availability, competition, margins, and fulfilment performance all influence results.
Documents Required to Sell on Blinkit
Preparing the documents required to sell on Blinkit before starting the registration process can help reduce delays. Exact requirements may vary depending on your business structure, product category, and Blinkit's current onboarding policies.
Commonly requested documents and information may include:
- GST registration certificate: An active GSTIN and business details that match the applicable legal records.
- Business PAN card: PAN details associated with the business or relevant legal entity.
- Bank account proof: A cancelled cheque or bank document showing the account holder's name and banking details.
- FSSAI licence: Applicable to food and beverage businesses, according to the relevant food safety requirements.
- Brand ownership or authorization proof: Trademark documentation, brand authorization, or distributor authorization, where applicable.
- Product barcode information: Valid product identifiers, such as GS1-issued GTIN/EAN barcodes, where required by the platform or category.
- Product and packaging details: Product specifications, images, MRP, applicable tax information, and other catalogue data.
Before submitting your documents, verify the latest requirements with Blinkit. Do not assume every document is mandatory for every category or seller.
Step-by-Step Blinkit Seller Registration Process
Understanding the Blinkit seller registration process helps you prepare for each stage instead of treating onboarding as a simple online sign-up.
The general process may involve the following stages:
Business Registration → Document Verification → Category Evaluation → GST APOB Compliance, Where Applicable → Product Catalogue Submission → Purchase Order and Stock Inwarding → Product Activation
Step 1: Start Your Blinkit Seller Registration
Visit the official Blinkit seller website at seller.blinkit.com and review the available registration or onboarding options.
Provide the requested business contact information and registration details. If the platform accepts your application, follow its instructions for submitting the required documents.
If you are researching Blinkit seller account kaise banaye, start by keeping your GST details, business PAN, bank proof, and product information ready. Registration does not necessarily mean that your business or products will be approved automatically.
Step 2: Submit Your KYC Documents
Complete the verification requirements communicated by Blinkit. Depending on your business and product category, this may involve GST details, PAN, bank account proof, brand authorization, and relevant licences.
Check that your business name, GST information, and banking details are consistent wherever applicable. Incorrect or incomplete information can delay verification.
Step 3: Complete Category and Commercial Evaluation
After document submission, your business and products may undergo category evaluation.
Factors can include product demand, category fit, pricing, packaging, product quality, expected margins, and operational readiness.
Approval is subject to Blinkit's applicable business requirements. Submitting an application does not guarantee onboarding, a vendor agreement, or purchase orders.
Step 4: Understand GST APOB Registration for Blinkit
GST APOB registration for Blinkit is an important compliance consideration when stock is stored at a warehouse or another business location that must be declared under the applicable GST rules.
APOB stands for Additional Place of Business. Depending on the business structure, state, warehouse arrangement, and applicable GST provisions, you may need to add an eligible warehouse address to your GST registration.
Before proceeding:
- Obtain the relevant warehouse details and supporting documentation.
- Confirm whether the location must be added to your GST registration.
- Check the applicable GST requirements for the state and business arrangement.
- Complete the required amendment through the GST portal, where applicable.
- Verify the documentation and invoicing process before dispatching stock.
Do not assume that every warehouse arrangement follows an identical APOB process. Confirm the specific requirements with Blinkit and a qualified GST professional before making changes to your registration.
Step 5: Prepare and Upload Your Product Catalogue
Knowing how to list products on Blinkit is essential for a smooth onboarding experience.
Once you receive the relevant instructions or catalogue access, prepare accurate product information. Depending on the category and onboarding workflow, this may include:
- Product name and brand
- Product images meeting the specified guidelines
- Pack size, net quantity, and product dimensions
- MRP and applicable pricing information
- HSN and tax details, where required
- Product barcode or GTIN/EAN information, where applicable
- Category-specific product attributes and compliance details
Maintain consistency between your product packaging, submitted catalogue, and supporting documentation.
Accurate catalogue information helps reduce avoidable corrections and supports better product identification and inventory management. However, listing quality alone does not guarantee higher rankings or sales.
Step 6: Understand Stock Dispatch and Product Activation
After the required approvals and catalogue steps, follow the stock dispatch instructions provided for your business.
Depending on the arrangement, you may need to fulfil purchase orders, coordinate deliveries to designated warehouses, and ensure that inventory meets the specified packaging and labelling requirements.
Once stock is accepted and processed through the applicable fulfilment workflow, products may become available for sale in eligible locations.
Monitor inventory, replenishment schedules, expiry dates where relevant, and product availability to minimise operational disruptions.
Blinkit Seller Fees and Commission: What Should You Know?
Before completing Blinkit vendor onboarding, understand the commercial terms associated with your proposed arrangement.
Blinkit seller fees and commission should not be treated as one fixed amount applicable to every business. Commercial terms can vary by category, product economics, supply arrangement, and negotiated agreement.
Before committing, clarify the following:
- Commission or commercial deductions: Understand all applicable charges and how they are calculated.
- Product margins: Calculate your margin after product cost, packaging, logistics, applicable fees, and other operating expenses.
- Promotional costs: Confirm whether any promotional participation or advertising expenditure is expected.
- Returns and damages: Understand the applicable policies and responsibility for losses.
- Payment terms: Check invoicing requirements, payment cycles, deductions, and dispute procedures.
- Inventory requirements: Estimate the working capital needed to maintain stock and fulfil purchase orders.
Do not rely on an unverified online percentage as Blinkit's universal commission rate. Request the latest commercial terms directly from the authorized onboarding representative and assess profitability before accepting an agreement.
Common Blinkit Seller Onboarding Mistakes to Avoid
Businesses can reduce avoidable onboarding problems by addressing these issues early:
1. Incomplete documentation: Prepare the required business, banking, brand, and category documents before applying.
2. Incorrect GST information: Verify the relevant business details and confirm any APOB requirements before dispatch.
3. Inaccurate product listings: Ensure product names, pack sizes, barcodes, images, and other attributes are correct.
4. Unclear commercial calculations: Evaluate product-level profitability instead of focusing only on expected sales volume.
5. Insufficient inventory planning: Consider replenishment lead times, expiry dates, warehouse requirements, and working capital.
6. Assuming approval is guaranteed: Category acceptance, onboarding, product activation, and purchase orders may involve separate decisions.
Frequently Asked Questions About Blinkit Seller Onboarding
1. What is the Blinkit seller registration process?
The process generally involves submitting a business application, providing the requested documents, completing applicable verification and category evaluation, preparing product catalogue information, and following the required inventory and activation procedures. The exact workflow depends on Blinkit's current onboarding requirements.
2. What documents are required to sell on Blinkit?
Commonly requested documents may include a GST registration certificate, PAN, bank account proof, applicable food licences, brand ownership or authorization documents, and product barcode information. Requirements vary by business and product category.
3. How can I create a Blinkit seller account?
If you are searching for Blinkit seller account kaise banaye, visit the official seller website at seller.blinkit.com, review the available registration process, and follow the instructions provided. Account creation or application submission does not guarantee approval.
4. Is GST APOB registration mandatory for Blinkit sellers?
It depends on the applicable GST provisions and the nature of the warehouse or stock-storage arrangement. Where a warehouse qualifies as an additional place of business that must be declared, the relevant GST registration amendment may be necessary. Confirm your specific situation with a GST professional.
5. What are Blinkit seller fees and commission?
There is no single commercial figure that should be assumed to apply to every seller. Confirm the applicable commission, deductions, payment terms, and other charges directly with Blinkit's authorized representative before finalizing an agreement.
6. How long does Blinkit seller onboarding take?
The timeline depends on document verification, category approval, commercial discussions, compliance requirements, catalogue preparation, and warehouse readiness. Avoid treating any particular number of days as guaranteed unless Blinkit confirms it for your application.
7. How can I list products on Blinkit?
Follow the catalogue submission process provided during onboarding. Prepare accurate product details, images, pricing information, dimensions, and any required barcodes or compliance information before submitting your products for review.
Simplify Blinkit Vendor Onboarding with Dream Grow Digital
For brands and manufacturers, Blinkit vendor onboarding can involve multiple operational tasks, from document coordination and catalogue preparation to GST-related coordination and inventory readiness.
Dream Grow Digital supports businesses looking to expand their presence across online marketplaces and quick-commerce platforms.
Our relevant services include:
- Seller onboarding assistance: Support with application preparation and onboarding coordination.
- Catalogue management: Product data preparation, catalogue setup, and listing accuracy.
- Listing optimization: Improving product content and catalogue quality in line with platform requirements.
- GST APOB coordination: Assistance with documentation coordination, subject to applicable requirements and professional tax advice.
- Account management support: Operational assistance with marketplace workflows and product catalogue maintenance.
Whether you are launching a new brand or exploring additional sales channels, a structured onboarding process can help you prepare more effectively.
Ready to explore Blinkit seller onboarding?
Contact Dream Grow Digital to discuss your business requirements and the support you need for marketplace and quick-commerce expansion.