
In the fast-paced world of Indian retail, "10-minute delivery" is no longer a luxury—it is an expectation. For local business owners and retailers, this shift represents a massive opportunity. If you aren't available where your customers are shopping instantly, you are missing out on daily sales. This is why Blinkit Seller Onboarding has become a hot topic for smart entrepreneurs looking to expand their reach.
Getting listed on a quick commerce platform can transform a local shop into a high-volume business hub. However, the registration process can sometimes feel complicated. In this guide, we will break down the entire Blinkit Seller Onboarding journey, from eligibility to final approval.
At Dream Grow Digital, we understand the hurdles sellers face. Our goal is to make digital adoption seamless so you can focus on what you do best—growing your business.
Table of Contents
- What is Blinkit Seller Onboarding?
- Benefits of Blinkit Seller Onboarding
- Eligibility Criteria for Blinkit Seller Onboarding
- Documents Required for Blinkit Seller Onboarding
- Step-by-Step Blinkit Seller Onboarding Process
- Common Problems Faced During Blinkit Seller Onboarding
- Tips to Get Faster Approval on Blinkit
- How Dream Grow Digital Helps with Blinkit Seller Onboarding
- Frequently Asked Questions (FAQs)
- Conclusion
What is Blinkit Seller Onboarding?
Simply put, Blinkit Seller Onboarding is the registration and verification process a merchant must complete to sell on Blinkit. It involves submitting your business details, verifying your identity, and mapping your inventory to Blinkit’s delivery network.
Once onboarding is successful, your store or products become visible to thousands of nearby customers using the Blinkit app. Unlike traditional e-commerce, which takes days to deliver, Blinkit focuses on hyper-local, quick commerce, making the onboarding requirements slightly different.
Benefits of Blinkit Seller Onboarding
Why should you rush to get your Blinkit seller account active? The advantages of quick commerce are undeniable for local sellers.
- Instant Customer Access: You get direct access to customers in your vicinity who are looking for immediate delivery.
- Higher Conversion Rates: Customers on Blinkit have high intent. They aren't just browsing; they are buying for immediate needs.
- Reduced Logistics Headache: Blinkit handles the delivery logistics, saving you from managing a fleet of delivery boys.
- Brand Visibility: Even if you are a small local shop, listing on the app gives you the digital presence of a major retailer.
- Daily Payouts: Many quick commerce models offer faster settlement cycles compared to traditional marketplaces.
Eligibility Criteria for Blinkit Seller Onboarding
Before you start the Blinkit seller registration, it is crucial to know if your business fits their model. Not every business can sell on Blinkit immediately; the platform prioritizes specific categories and locations.
Who can apply?
- Local Retailers: Kirana stores, pharmacies, bakeries, and pet shops.
- D2C Brands: Direct-to-consumer brands that want to stock their inventory in Blinkit’s dark stores (warehouses).
- Wholesalers/Distributors: Those capable of supplying high-demand goods to Blinkit’s network.
Key Requirements:
- You must operate in a serviceable area where Blinkit is active.
- You must deal in categories like groceries, personal care, electronics accessories, or home essentials.
Documents Required for Blinkit Seller Onboarding
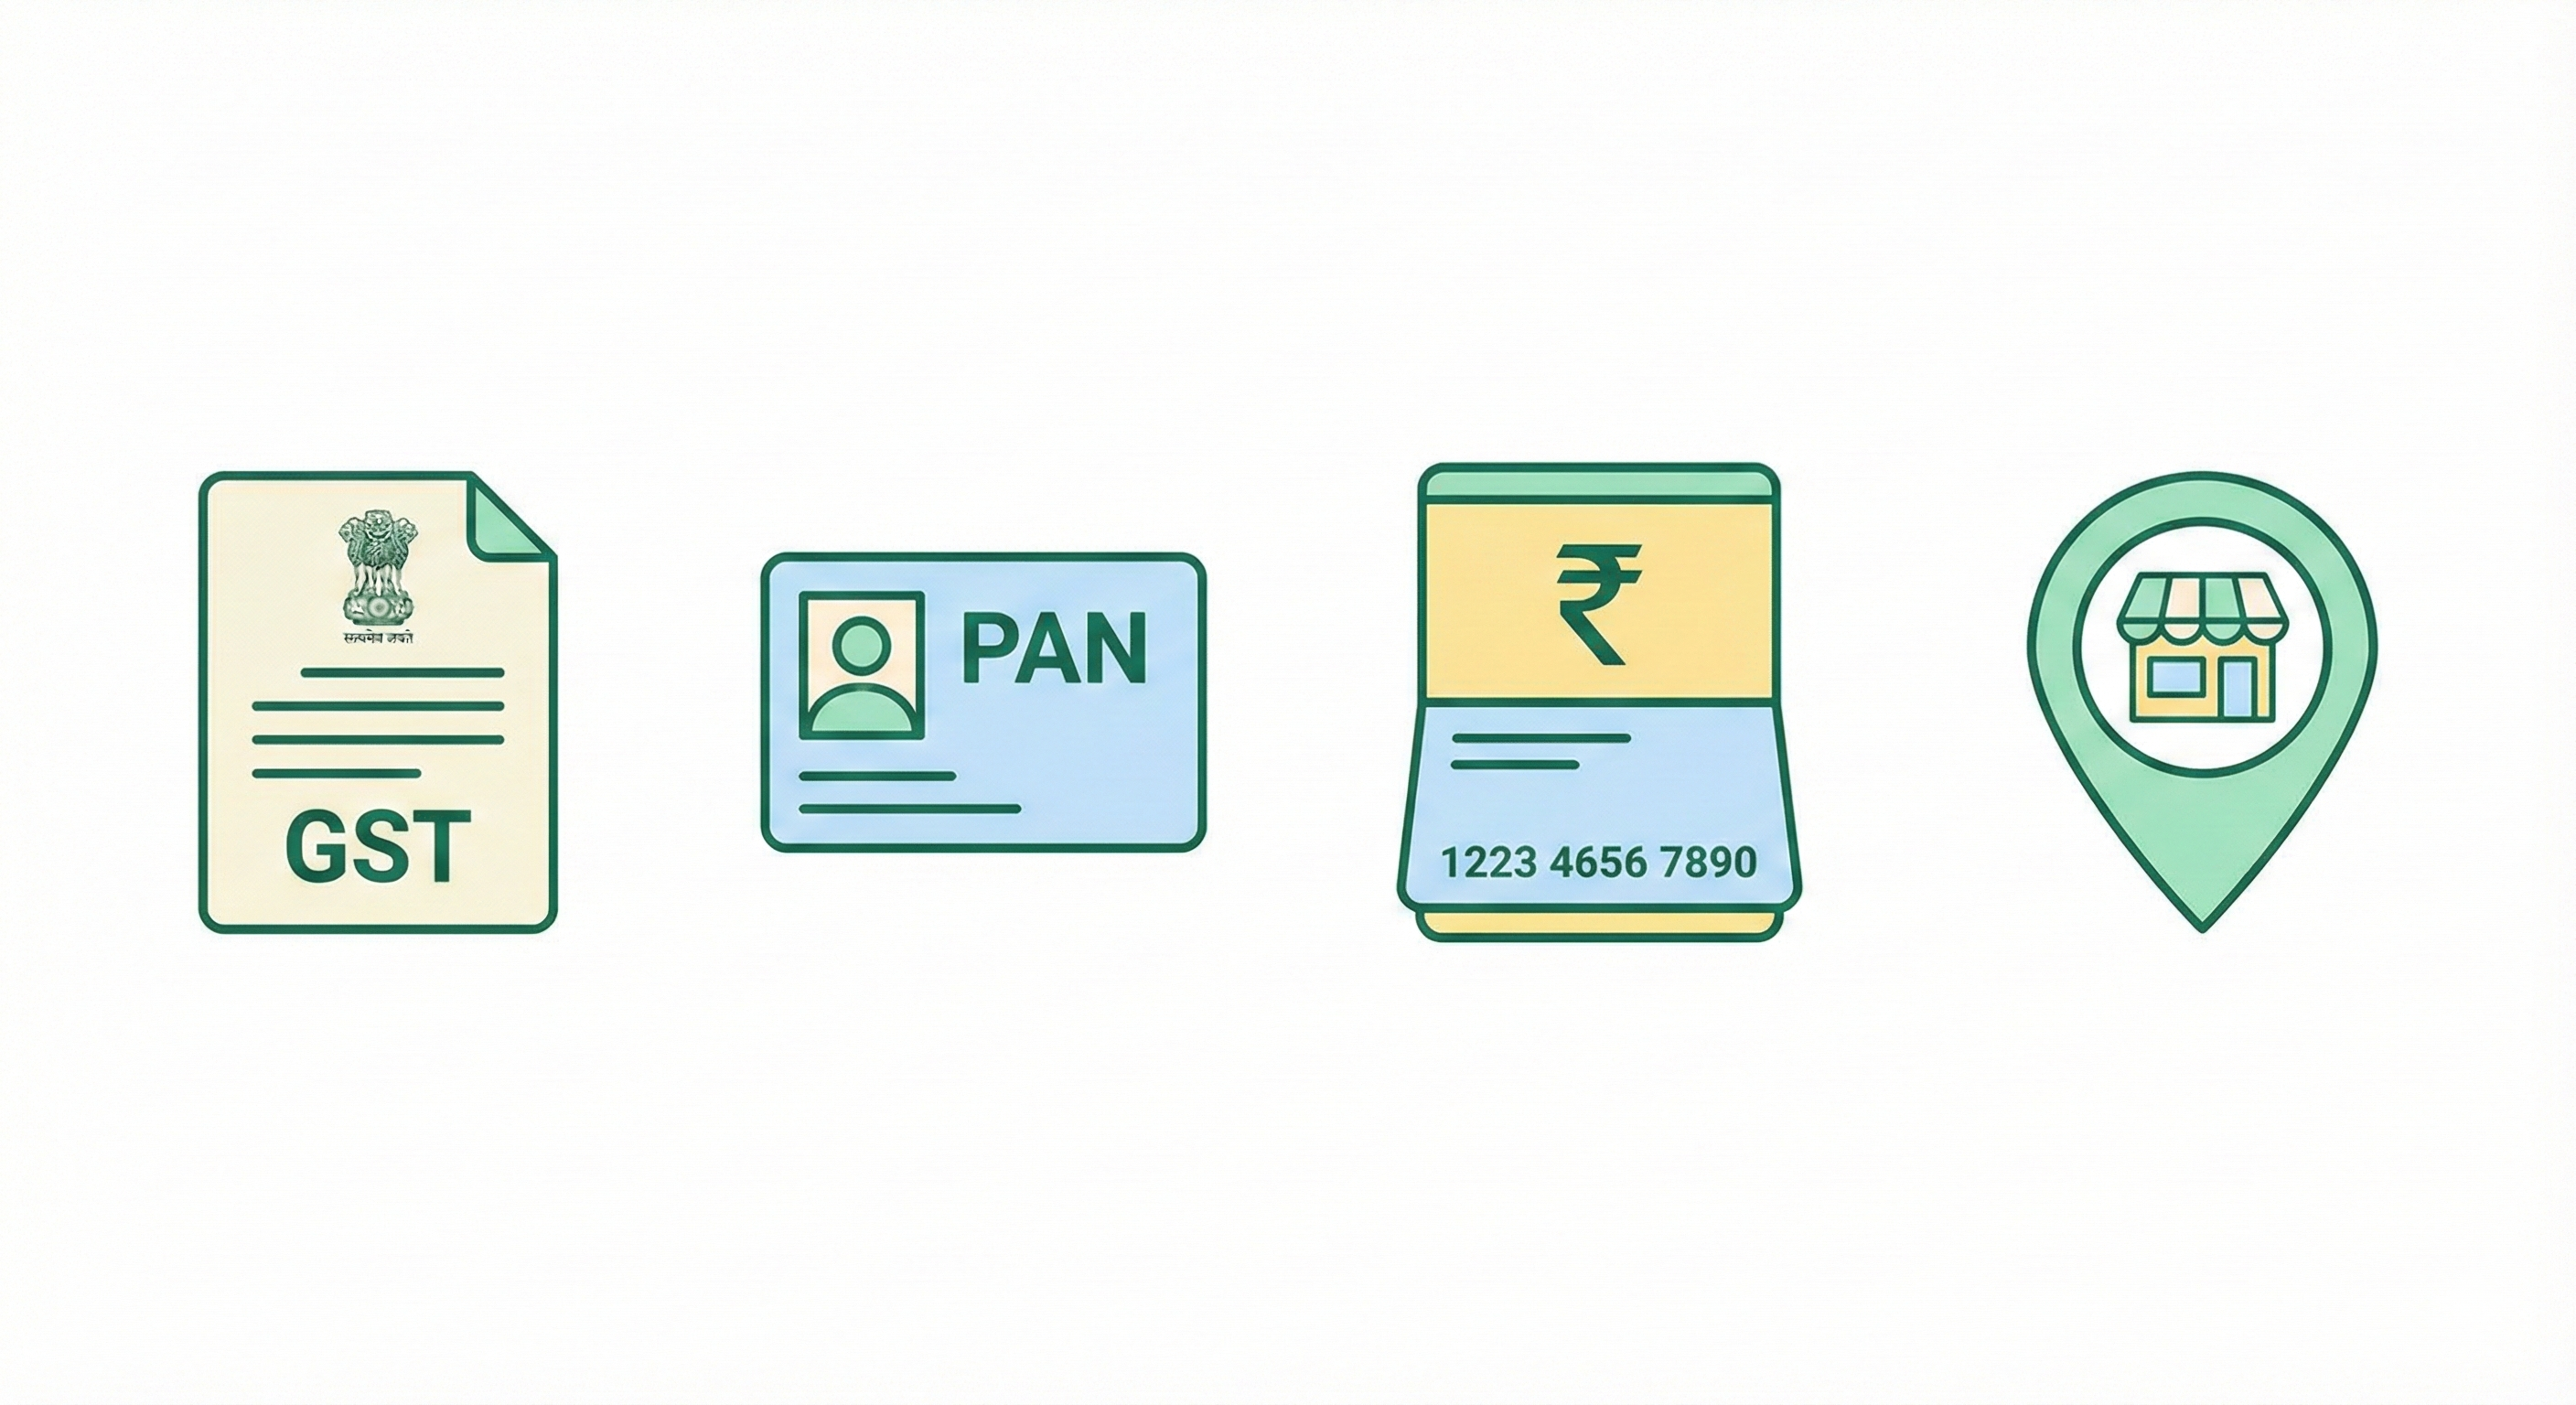
To ensure a smooth Blinkit onboarding process, keep the following documents ready in digital format. Missing or blurry documents are the top reason for rejection.
- GSTIN Certificate: Mandatory for most commercial sellers.
- PAN Card: Business PAN or Personal PAN (for proprietorships).
- Bank Account Details: Cancelled cheque or passbook front page for payout verification.
- FSSAI License: Strictly required if you are selling food items or groceries.
- Shop Establishment License: (Optional but recommended in some states).
- Trademark Certificate: Only if you are a brand owner protecting your intellectual property.
Step-by-Step Blinkit Seller Onboarding Process
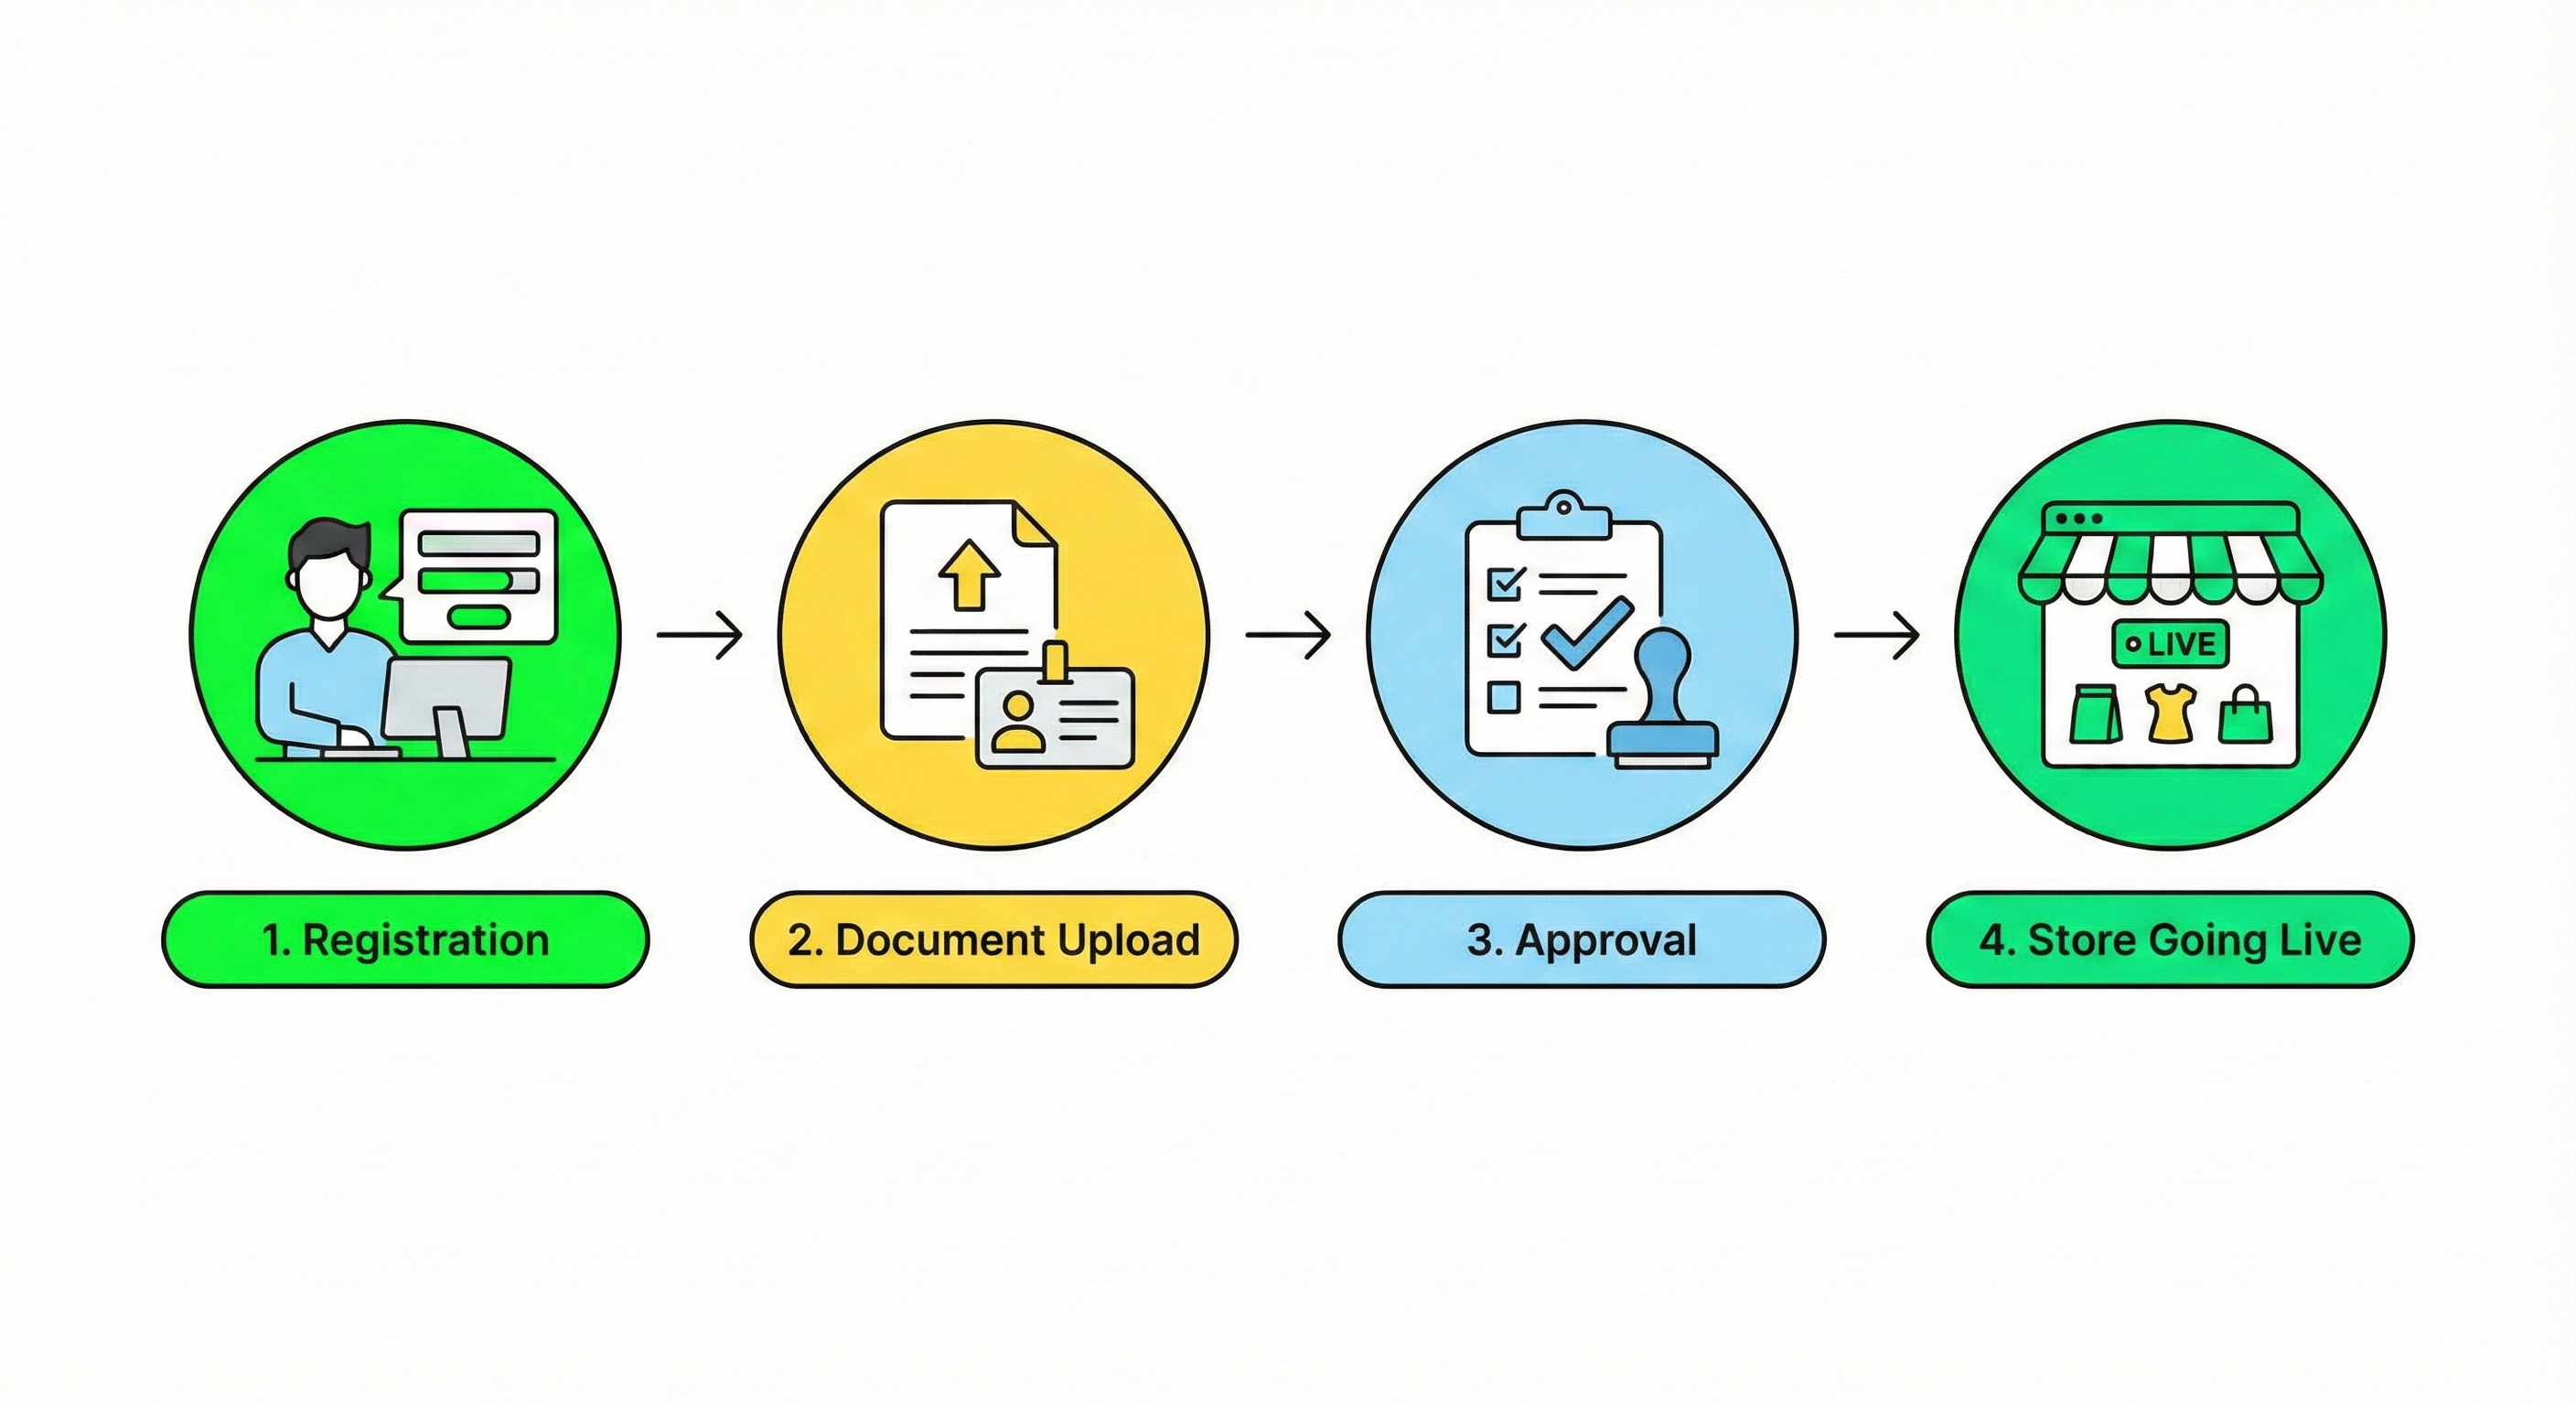
Ready to get started? Follow this step-by-step guide to complete your Blinkit Seller Onboarding.
- Visit the Partner Portal: Go to the official Blinkit partner or seller registration page.
- Basic Registration: Enter your mobile number and email ID to create a login. You will verify this via OTP.
- Business Details: Fill in your store name, pickup address, and select your business category (e.g., Grocery, Electronics).
- Document Upload: Upload clear copies of your GST, PAN, and Bank details. Ensure the text is readable.
- Cataloging: If you are a local store, you may need to map your inventory to the Blinkit catalog. If you are a D2C brand, you will list your SKUs.
- Agreement & Terms: Read and accept the commission structure and service agreement.
- Wait for Approval: The Blinkit team will review your application. It may take a week or a day to complete.
- Go Live: Once approved, you will receive access to your seller dashboard to manage orders.
Common Problems Faced During Blinkit Seller Onboarding
Even though the process seems simple, many sellers get stuck. Here are common hurdles that delay Blinkit seller approval:
- Pincode Unavailability: Sometimes, Blinkit is not onboarding new sellers in specific saturated pincodes.
- Mismatch in Documents: If the name on the GST certificate doesn't match the PAN card or bank account exactly, the application will be rejected.
- Unclear Images: Uploading blurry photos of documents prevents automated verification.
- Category Restrictions: Trying to list prohibited items or categories that Blinkit does not currently support.
Tips to Get Faster Approval on Blinkit
To speed up your Blinkit Seller Onboarding, follow these best practices:
- Double-Check Data: Ensure your business name is consistent across all documents.
- High-Quality Scans: Use a scanning app to create clear PDFs of your documents, rather than just taking photos.
- Use Professional Help: If you are unsure about cataloging or compliance, agencies like Dream Grow Digital can guide you to avoid mistakes.
- Follow Up: If your application is pending for more than 48 hours, raise a ticket immediately through their support channel.
How Dream Grow Digital Helps with Blinkit Seller Onboarding
At Dream Grow Digital, we specialize in e-commerce account management. We know that as a business owner, you don't have time to wrestle with technical errors or document rejections.
We simplify the Blinkit Seller Onboarding process by handling:
- Document Verification: We check your papers before submission to ensure 100% compliance.
- Catalog Management: We help you list your products correctly so they rank higher in search results.
- Account Setup: From registration to your first order, we guide you through every click.
- Marketing Support: Once you are live, we help you run ads to boost your sales on the platform.
Don't let technical difficulties stop you from growing. Let us handle the onboarding while you handle the sales.
Conclusion
The quick commerce revolution is here, and Blinkit Seller Onboarding is your gateway to joining it. By listing your products on Blinkit, you ensure your business remains competitive and accessible to the modern, speed-conscious consumer.
While the process involves several steps—from documentation to cataloging—the rewards of high visibility and daily orders are worth the effort.
Ready to start selling? Don't navigate the complexities alone. Contact Dream Grow Digital today. We will manage your Blinkit Seller Onboarding from start to finish, ensuring you go live without the stress.
Frequently Asked Questions (FAQs)
1. Is Blinkit Seller Onboarding free?
Yes, the registration process itself is usually free. However, Blinkit charges a commission on every order you process through the platform.
2. How long does the Blinkit onboarding process take?
Typically, it takes 3 to 7 working days. However, with correct documentation and support from experts like Dream Grow Digital, it can be faster.
3. Do I need a GST number for Blinkit Seller Onboarding?
Yes, a GST number is mandatory to sell on Blinkit as a commercial seller.
4. Can I sell from my home without a shop?
It depends on the category and model. D2C brands can stock in warehouses, but local sellers usually require a physical storefront or a dark store setup.
5. What happens if my Blinkit seller application is rejected? You will usually receive a reason for rejection via email. You can rectify the error and re-apply.
6. Who can help me if I get stuck during registration? You can contact Blinkit support, or you can hire Dream Grow Digital for a hassle-free, professional onboarding experience.